

Setting out for the Rudranath Trek is much more than just a pilgrimage—it’s an opportunity to walk through Himalayan meadows, forests, and legendary sites that hold centuries of history. For this season, the Kedarnath Wildlife Division requires every trekker to complete registration, whether you’re traveling solo or with friends. With this process, the department maintains a safe, responsible trekking environment and helps preserve the beauty of the Garhwal Himalayas.
Why Registration Is Important
Registering for the Shri Rudranath Trek is a necessary step for every visitor. It ensures that forest officials have a record of all trekkers on the route, which helps in case of emergencies and supports conservation efforts. If you’re trekking solo, you simply list yourself as the Lead Trekker and fill in your contact details—no extra steps or complications.
Step 1: Access the Official Portal
To start, go to the online portal dedicated to Rudranath trek registrations:
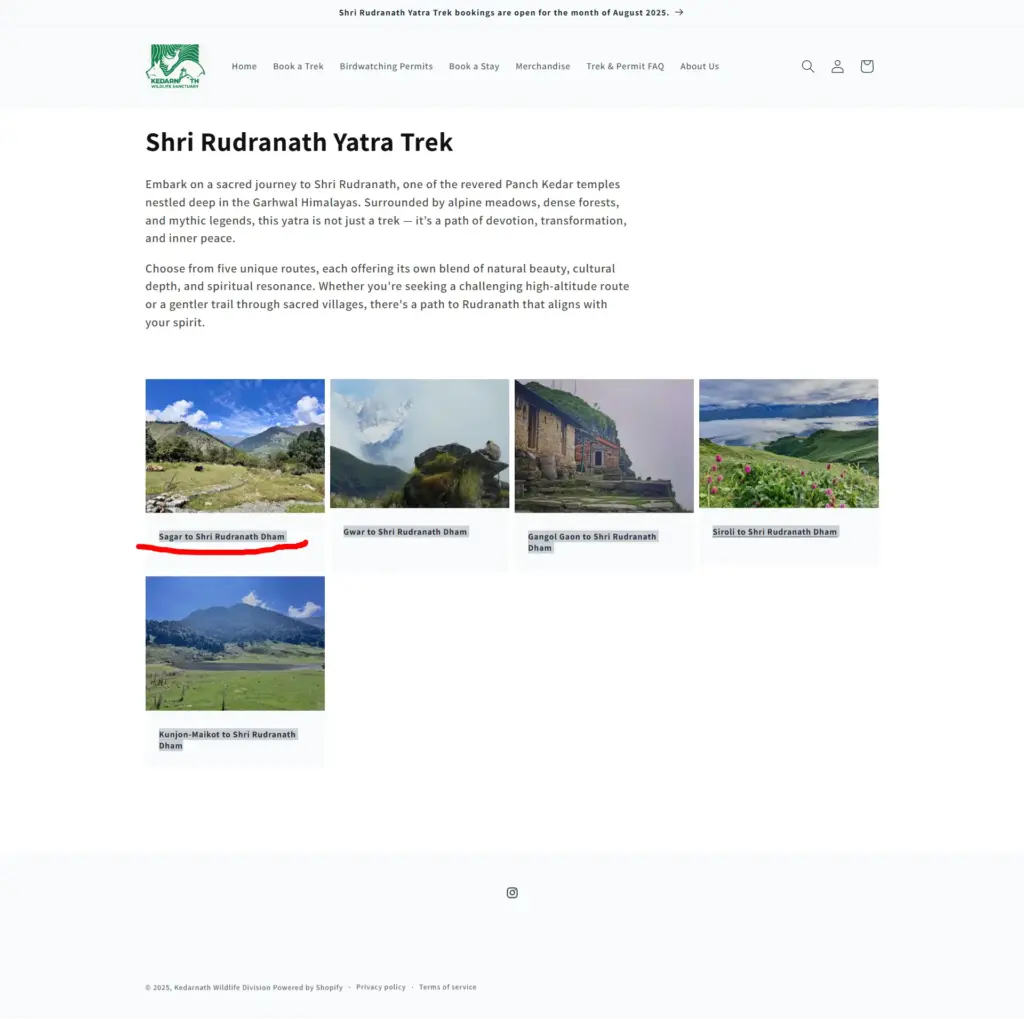
On the home page, you’ll find basic trek information and several route choices. Each route has its own spirit, but the permit you obtain will be valid for forest entry on any route.
Step 2: Pick Your Trek Route
The portal displays five trek routes:
- Sagar to Shri Rudranath Dham
- Gwar to Shri Rudranath Dham
- Gangol Gaon to Shri Rudranath Dham
- Siroli to Shri Rudranath Dham
- Kunjon-Maikot to Shri Rudranath Dham
Choose any route for registration—even if you later decide to walk a different path, your permit works for all official routes.
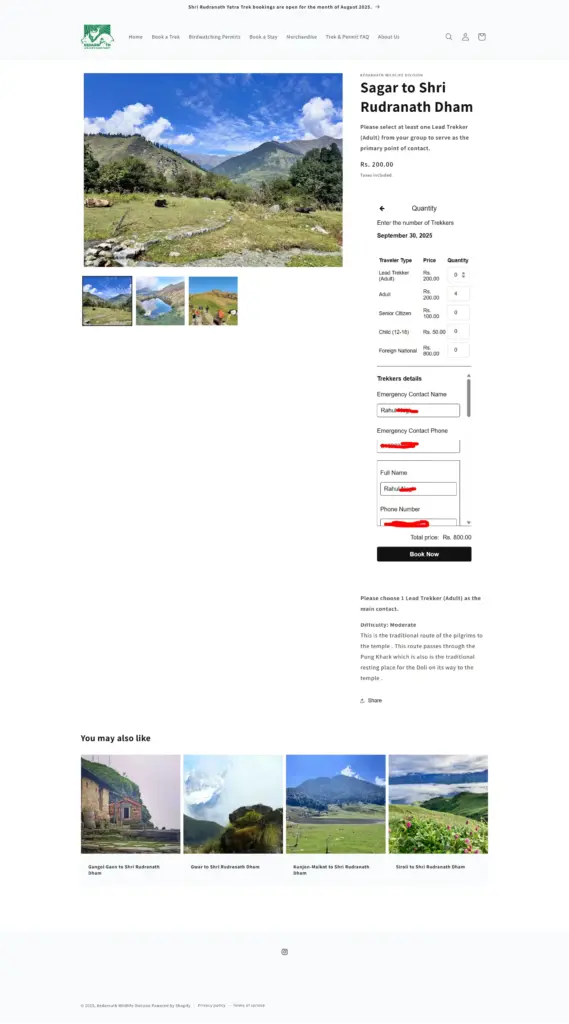
Step 3: Select Your Trek Date
Next, choose your trek date using the calendar on your chosen route page. The calendar will show how many slots are available each day. If you’re hiking alone, just select the “Adult” option—you’re automatically registered as Lead Trekker.
Step 4: Fill Trekker Information
Enter all the required details for your group. If you’re solo, you’ll fill out your personal contact information:
- Emergency contact name and number
- Your name and phone number
You can also add more trekkers for a group, selecting ticket quantities for adults, seniors, children, or foreign nationals. The registration form is straightforward and takes just a few minutes.
Step 5: Review Cart & Details
Once your information is filled, add the booking to your cart. Look over all your entries—check the route, trek date, and everyone’s information before moving ahead.

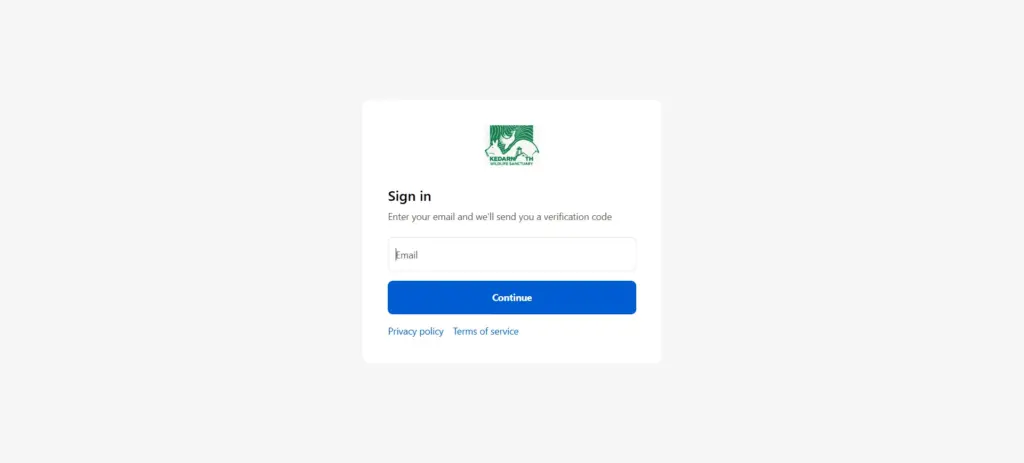
Step 6: Verify Your Email
When it’s time to check out, enter your email address. You’ll get a code to verify your booking and receive your receipt. This ensures security for your payment and trek details.
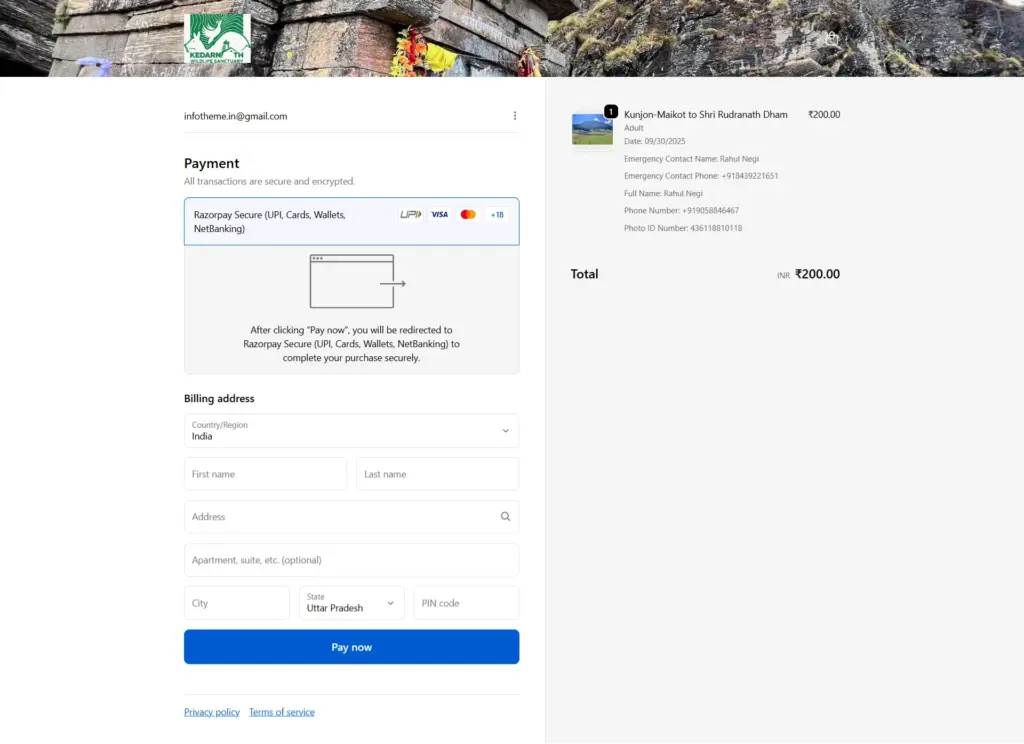
Step 7: Make Payment
Payment is simple and secure. Use UPI, cards, wallets, or net banking. The registration fee for Indian adults is ₹200; other categories have clearly marked prices.
Step 8: Download Your Receipt
Once payment is done, you’ll see your download link for the registration receipt. Print it or save a copy on your phone. At check posts and forest entry points, showing this document is essential.
Flexible Routes & Solo Trekking
The system is designed to give every trekker freedom. You can register for one route yet enter by another—your permit is always valid. Solo trekkers just list themselves as Lead Trekker and follow the same steps. Group trekkers pick one Lead Trekker for their party, so that forest officials have a main contact in case of emergency.
Offline Registration: Chandrakoti Sagar
For last-minute or offline registration, visit the forest check point at Chandrakoti Sagar. Forest department staff will help register you and provide a payment receipt right away. This option is great for those without internet access or booking late.
Book Your Rudranath Yatra Trek @ Rs. 12,500 Today
Why You Need Your Receipt
Always keep your registration receipt during the yatra, both in paper and digital form. It proves you’ve met department requirements and are eligible to trek. Forest, temple, and check post officials need to see your receipt for entry.
Top Tips for a Smooth Registration
- Fill contact and emergency info accurately—important for group and solo trekkers
- Solo travelers register themselves as Lead Trekker, while groups need just one main contact
- Always select an available date before planning your trip
- Carry a valid photo ID along with your permit during the trek
The Trekking Experience
After registration, prepare for a journey that brings together spirituality, local culture, and wilderness adventure. Most start the trek from Sagar village and spend 4-5 days along the trails, passing through alpine meadows and small Himalayan villages. Nights at forest camps and homestays add to the experience.
Final Checklist Before Trekking
- Finish your trek registration and payment
- Download and print your receipt
- Pack your photo ID and, if possible, a health certificate
- Confirm emergency contacts and double-check trek date
- Prepare gear for mountain trekking: good shoes, warm layers, and rain protection
Conclusion
Getting registered for the Shri Rudranath Trek in 2025 is a simple process, built to support trekkers and maintain forest safety. With easy online booking, a practical offline option, and simple rules for solo and group travelers, the department ensures that every trekker can enjoy the Himalayan pilgrimage. Register, keep your receipt, and get ready for an unforgettable mountain experience.


Is there any option to contact someone who can book slot on behalf of me
Which date sir